
Minitab Tutorial
The Minitab statistical system can be found on computers in the labs listed on the syllabus. A student version is available in the bookstore for approximately $75. An evaluation copy is available free for 30 days at www.minitab.com or it may be rented for the semester for approximately $26 at www.e-academy.com.
Getting Started:
Click Start on bottom left of screen and point to Programs > Minitab 13 > Minitab.
Getting data into Minitab:

Choose the File > Open Worksheet…
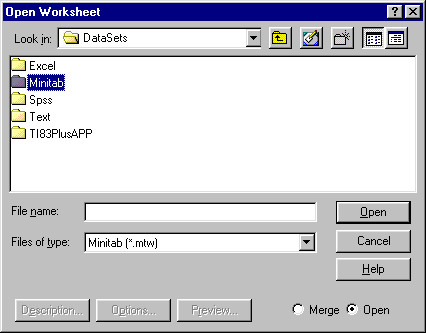

Select the directory where the file is located and open the appropriate file. If you are using the CD-ROM provided with the textbook, you will need to switch to the CD-ROM drive and Open the Datasets and Minitab folders.
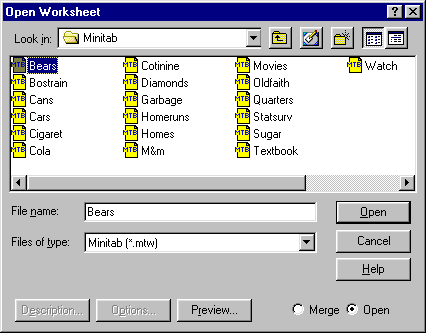
Double click on the Minitab worksheet (data set) that you wish to open.
The data should appear in the lower spreadsheet-like grid in Minitab.

Doing Analyses:
Histograms:
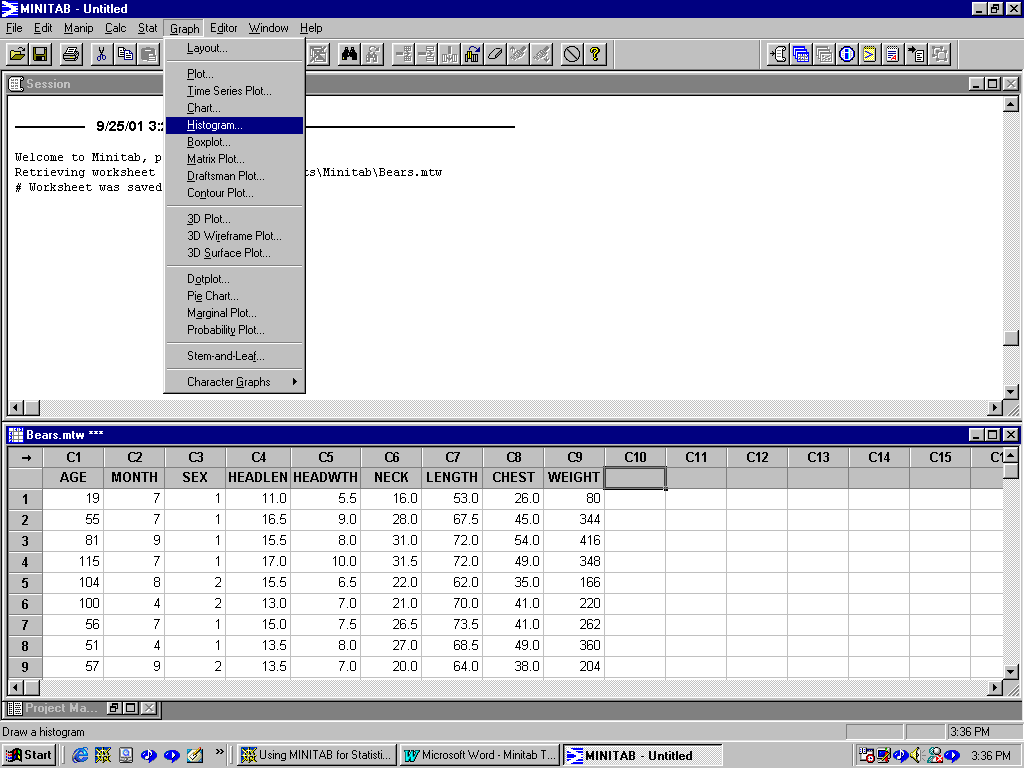
Select Graph > Histogram
Double click on the variable in the left window you desire to display in the histogram. It will appear as the X variable to be graphed:
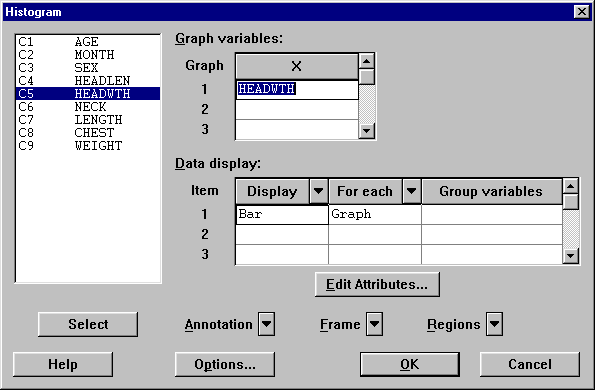
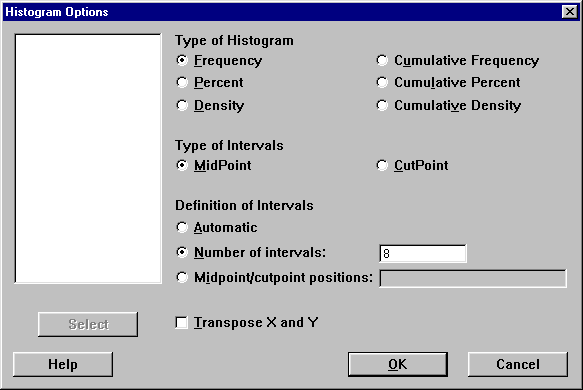
Then click on the Options… button. The number of classes can be selected by clicking "Number or Intervals:" and entering the desired number of classes:
Click on OK twice and the histogram should appear:

Getting the Output:
For assignments a hard copy is required with your comments on the printout. This can be done in two ways:
Other Analyses:
Descriptive Statistics:
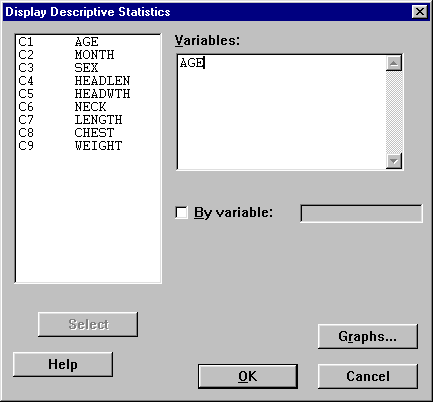
Select Stat > Basic Statistics > Display Descriptive Statistics…

Double click on the desired variable in the left window. Click OK.
Stem-and-Leaf Plots:
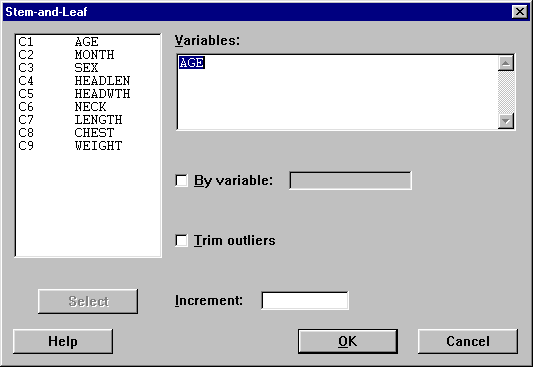
Select Stat > EDA > Stem-and-Leaf…

Double click on the desired variable in the left window. Click OK.
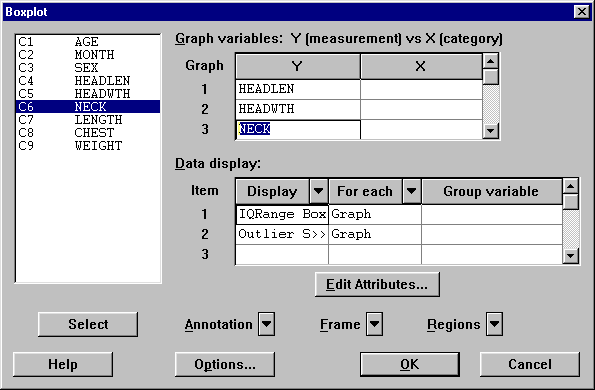
Boxplots:
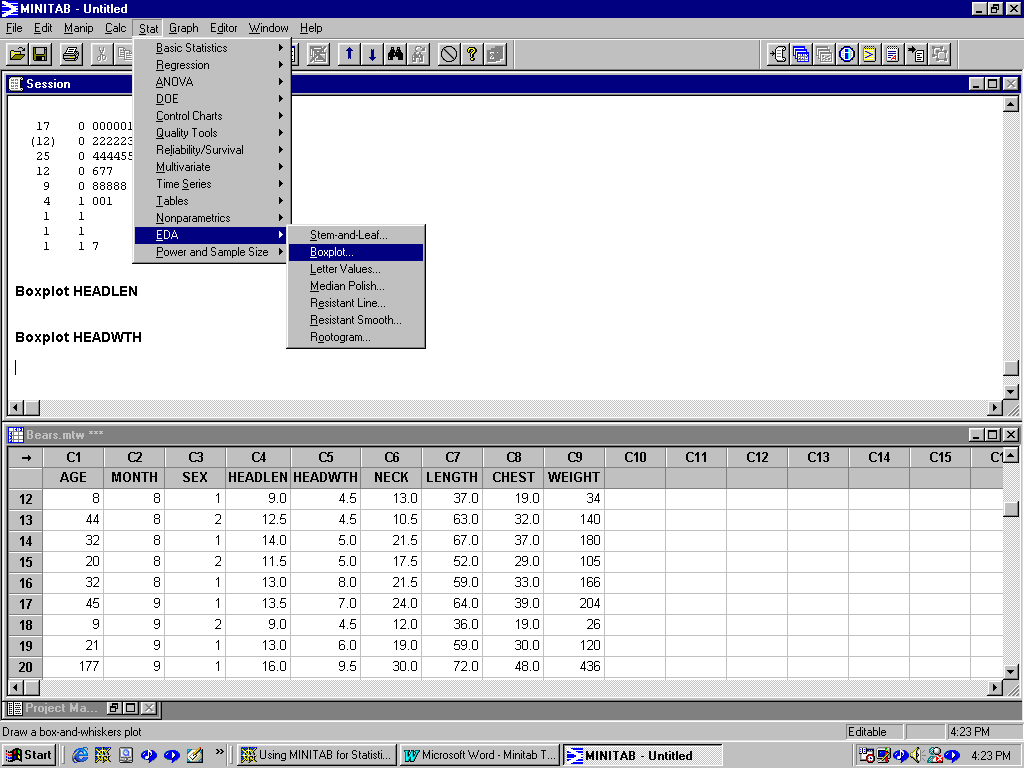
Select Stat > EDA > Boxplots…
Double click the desired variable in the left window to enter the first Y variable. Click in the second Y cell and double click the next variable. Continue until all variables are entered into the Y column.
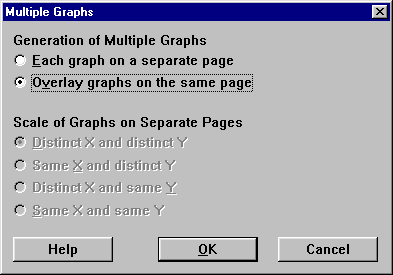
Select Frame > Multiple Graphs … Click on "Overlay graphs on the same page." Click OK.
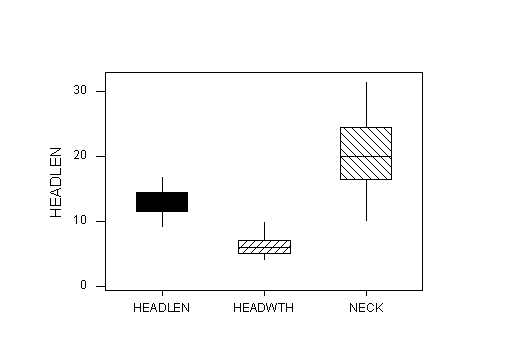 The output shoul appear like this:
Scatter diagrams are created by selecting Graph > Plot… Pie charts are found on the same menu. 
Pareto charts are created by choosing Stat > Quality Tools > Pareto Chart …
